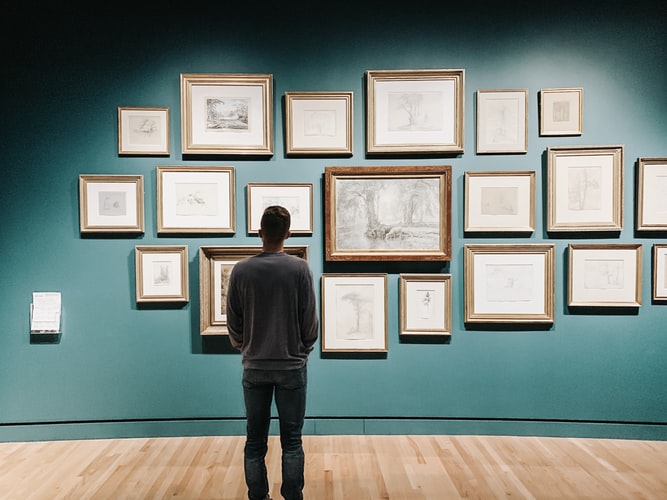
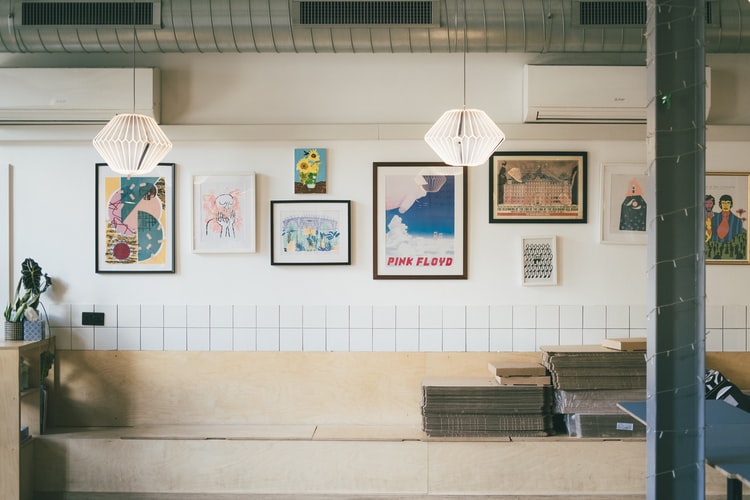
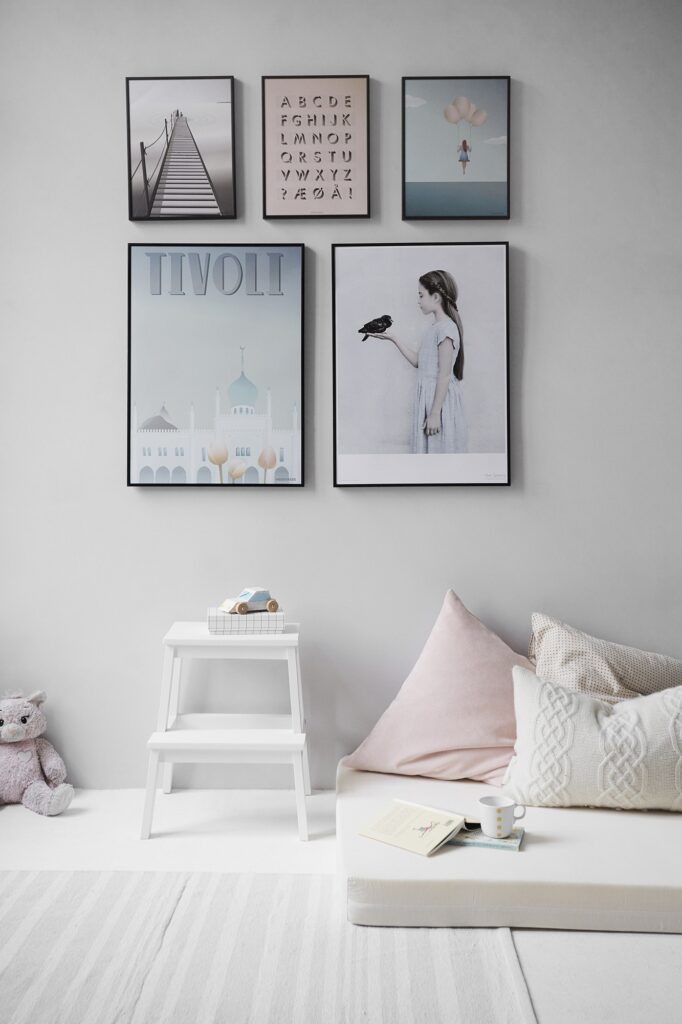
Ahhhhh, the beautiful gallery wall! This design trend has been around for a while now and is still an extremely popular one. You can find gallery walls all throughout pinterest and your social media feed. And I don’t see them going anywhere anytime soon.
Creating a gallery wall can be an overwhelming task when you haven’t done it before. I mean, how do they get them to look so good?
Have no fear, I am here to help! I’ve put together 7 steps to follow to put together a beautiful gallery wall for your home. Grab something to take notes on and your favorite pen and let’s get started.
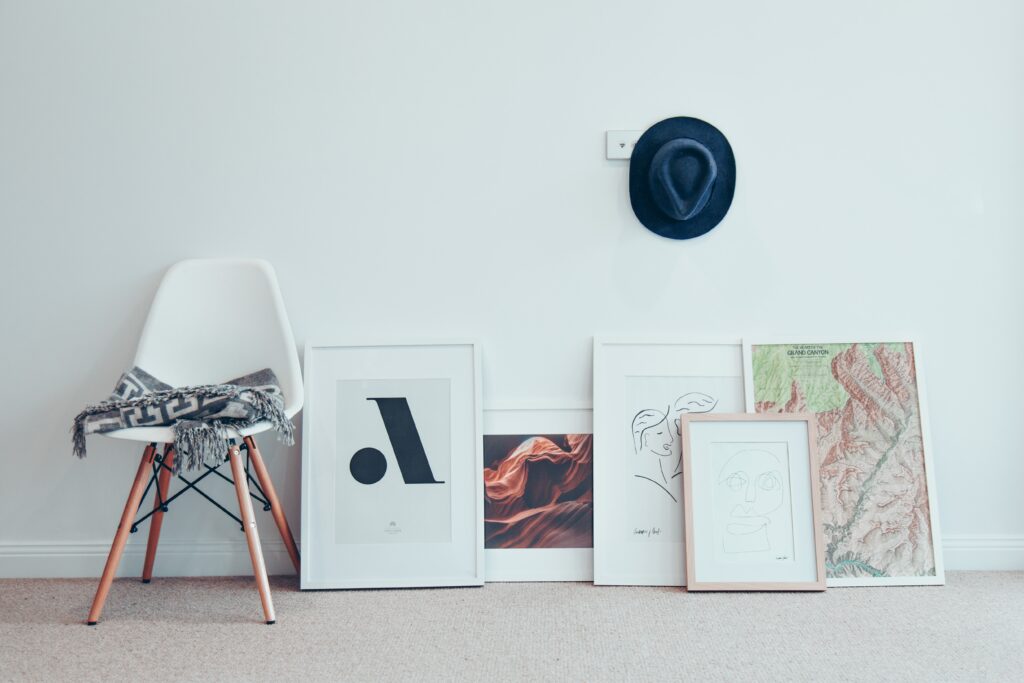
- Choose your artwork
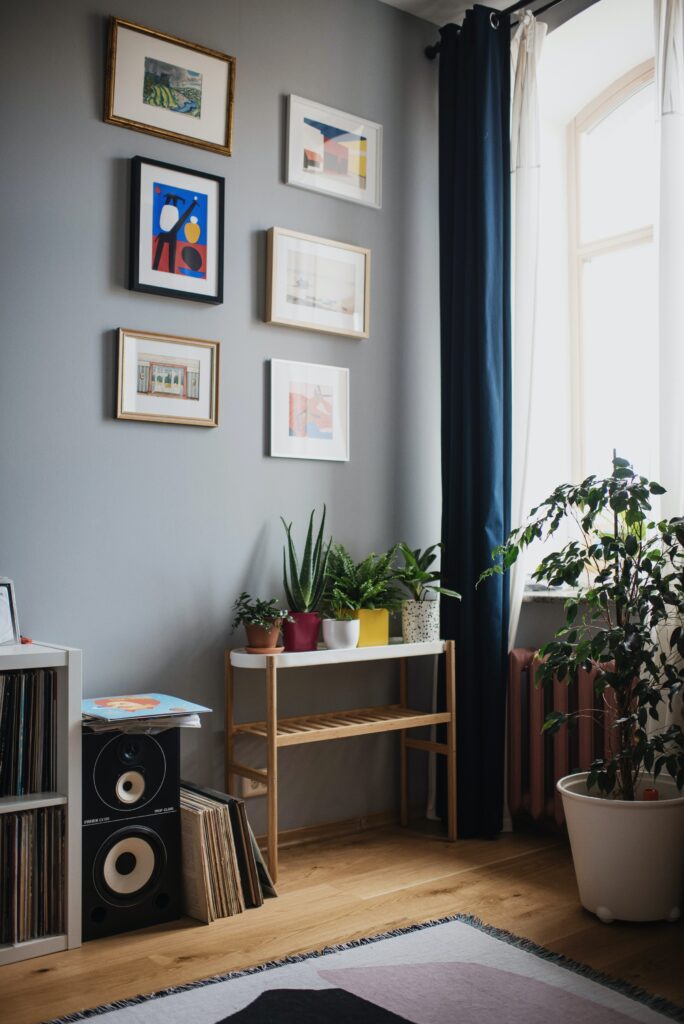
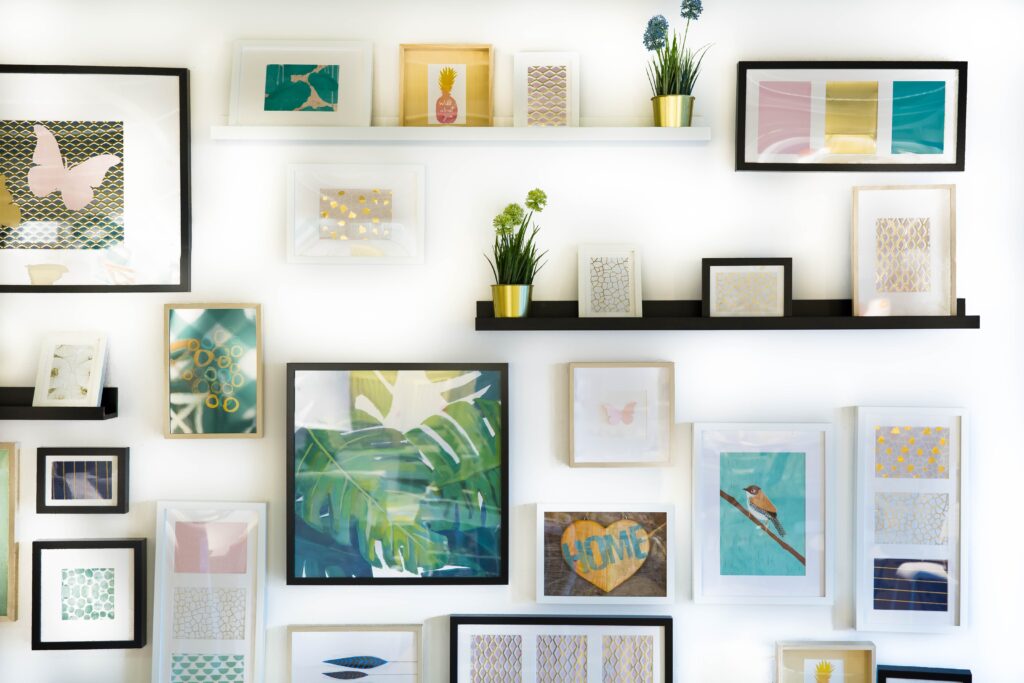
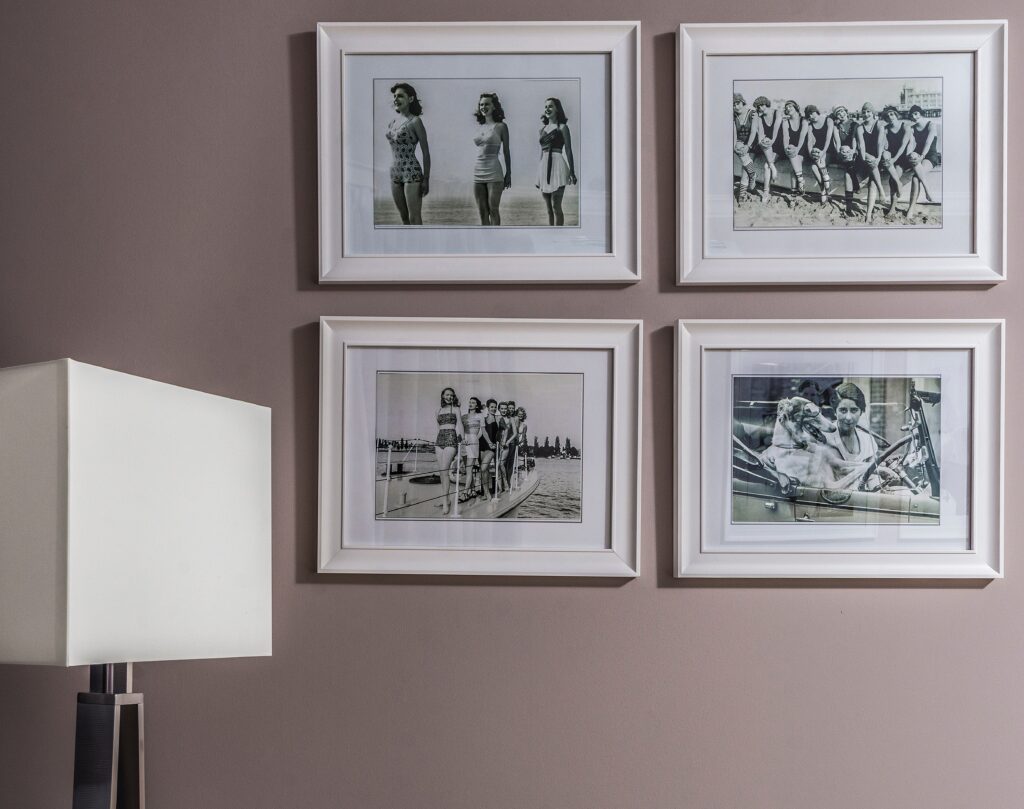
If you’ve never put together a gallery wall before, we suggest not going over 10-12 pieces for your wall. You can always add more later as you enhance your skills! You’ll want to select 10-12 pieces of artwork that you love. Gathering photos, prints, and paintings in different sizes creates a great gallery wall, so shoot for switching it up and adding as much variety as possible. You can also frame items that you already have, like family photos or things like your children’s artwork.
2. Plan your design
Measure the overall area that you have for your art. You’ll want at least 4-6” above your furniture, so try not to go below that unless you are short on space! Make sure to measure both width and height of your wall. Now you’ll want to draw that out on a piece of paper, and using a ruler go ahead and measure and draw out each piece of art. This is the method that ensures accuracy but if you just want to use one of the center pieces of art as a guide, you can do that too. Do not recommend this method, but it will be faster!
3. Gather your materials
You’ll want a tape measure, ruler, paper, tape, a hammer, a pencil and any hanging hardware you’ll need to hang your art. You’ll want to take a look at each frame and see what the best method for that piece is. If you have a level, I recommend that too. If you have an eyephone, there is a level app so make sure to check that out.
Check out your artwork to see what different hanging methods you’ll need to plan for. The most common are placing the art directly on the nail, using a wire, and using brackets. If you’re not sure which is best, do a little internet research!
4. Tape it out
Now it’s time to get your design up on the wall. You’ll want to cut out pieces of paper to the correct sizes and put it up on the wall in the exact design you planned out a couple steps ago. Another way is to measure and tape out the full gallery wall with paper cut to the correct sizes. This way you can plan it out exactly how you want to look, and can move things around until you’re happy.
5. Start hanging your art!
You’ll want to put the nails where you want them and then start hanging your art! Keep adding one at a time until every piece is up.
You did it! I’m so excited for you. Having a well designed gallery will have all your guests swooning over how good it looks.
Ready to start your design project? Fill out our design questionnaire to get started.